
Project Prerequisites:
First let’s make sure you have everything you need for your development environment:
- Unity Hub
- Unity 2017.4.10 (Latest version of Unity that the I-CAVE supports)
- GetReal3D Plugin 3.5.7.1279 (UnityPackage is provided upon Request)
What GetReal3D Contains:
Developing for the ICave on your own personal computer comes with its own hurdles due to the ICave’s unique control scheme; however, the package you’ve installed contains all the tools you’ll need in order to effectively develop and test ICave software on your own computer.
The default download location is This PC > OS(C:) > Program Files > Mechdyne
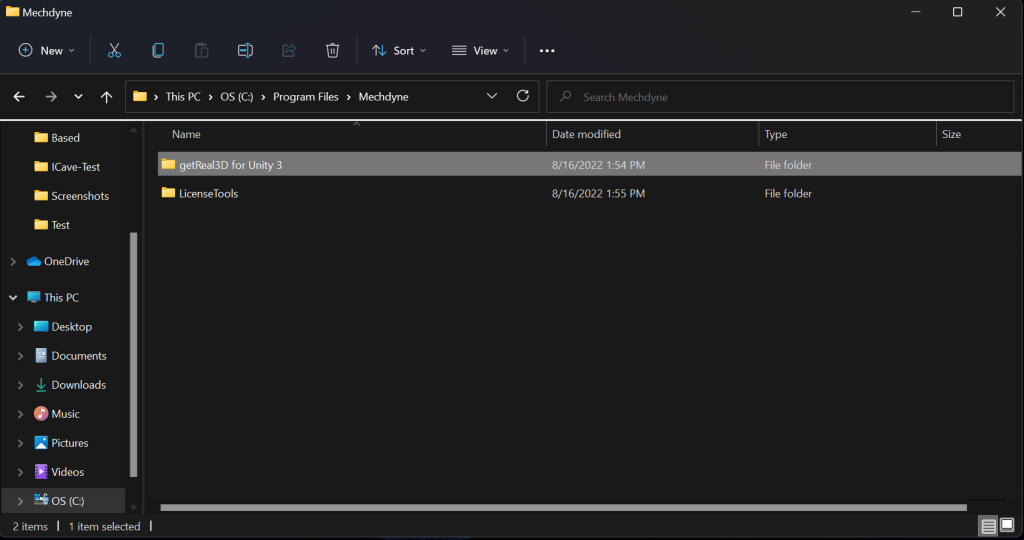
From here, open getReal3D for Unity 3 and browse through the folders. You will find three folders of note:
- bin
- For Unity Projects
- docs
We will go over why each of these folders are important.
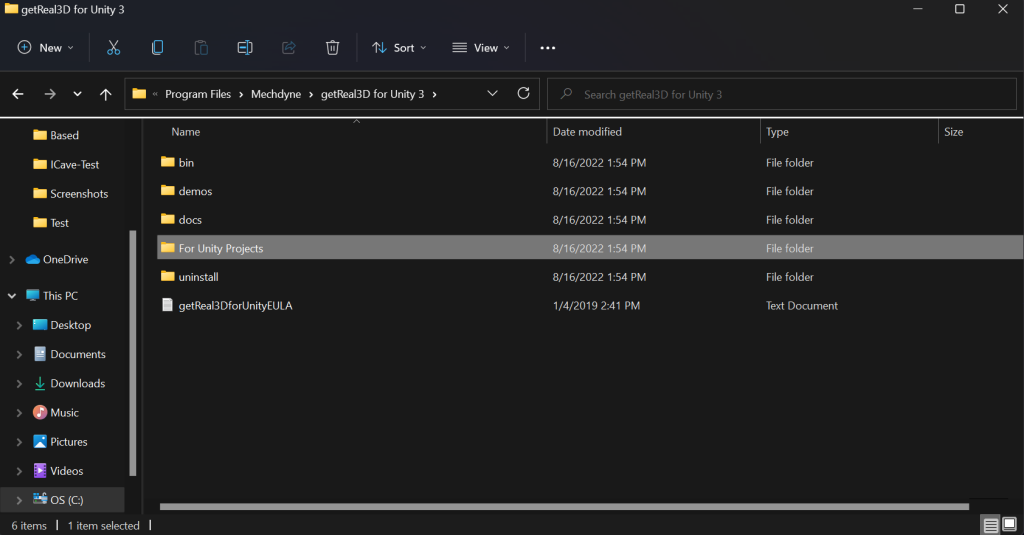
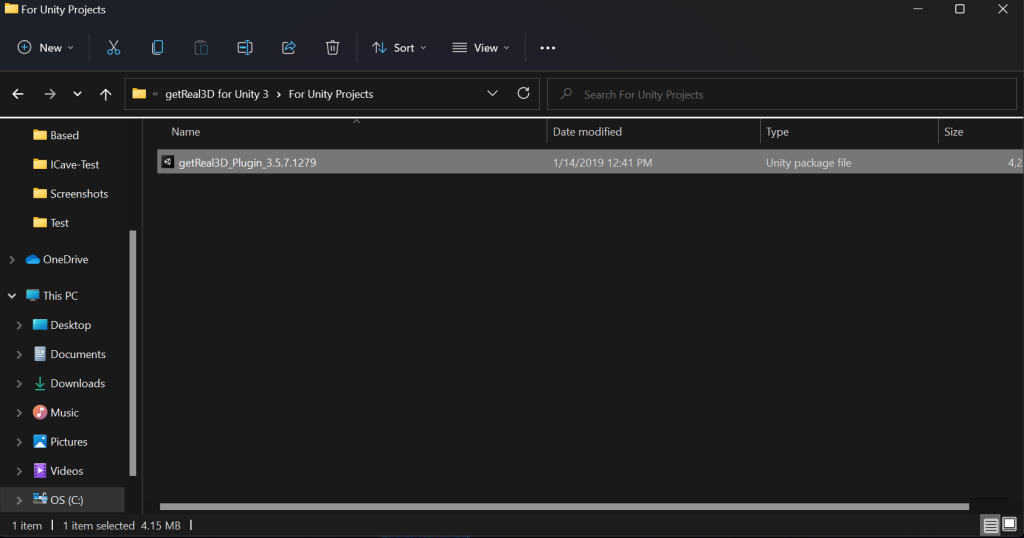
In getReal3D for Unity 3 > For Unity Projects, you will find the actual package you will need to import into your unity project, make note of its location for later.
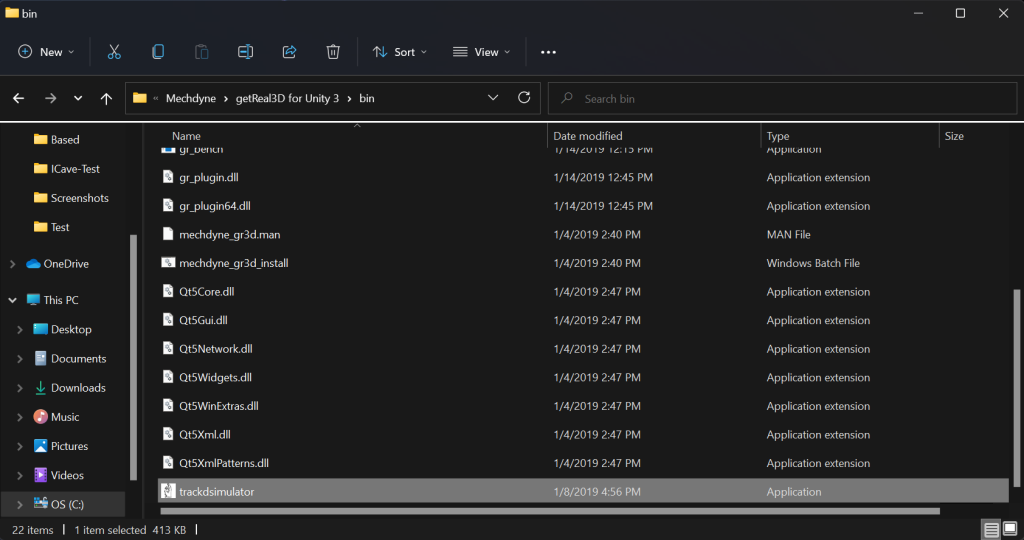
In getReal3D for Unity 3 > bin, scroll to the bottom and you’ll find an application called trackdsimulator. I recommend that you create a shortcut and place it on your desktop, having this application open will allow your Unity Project to enter Play Mode and with trackdsimulator acting as the controller, allowing you to test ICave applications on your computer without having to build.
In getReal3D for Unity 3 > docs, you will find documentation on the specifics of getReal3D and trackdsimulator. Consult this if you have any questions when developing or ask an employee of the ICave.
Creating a New Project:
- Create a new 3D Project using Unity 2017.4.10 in Unity Hub
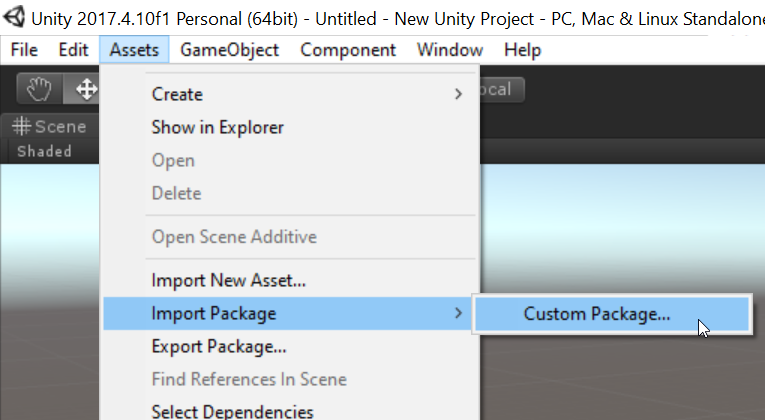
- Once the project is opened, the first thing we should do is import the GetReal3D Plugin unitypackage. We do this by going to the menu bar on top and selecting Assets
- Select Import Package
- Select Custom Package, and then select the relevant unity package when the file explorer pops up:
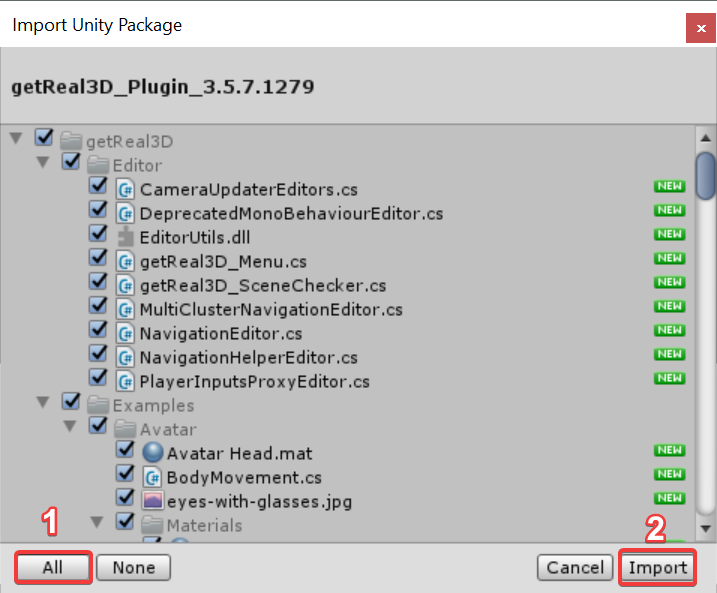
3. Select “All” then “Import” to import all files from plugin to the project:
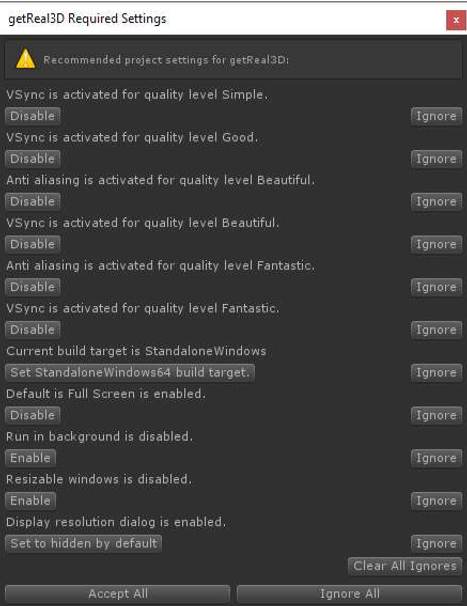
4. There are several required Quality and Player Settings that show up in a dialog warning window after importing the plugin. Please select Accept All:
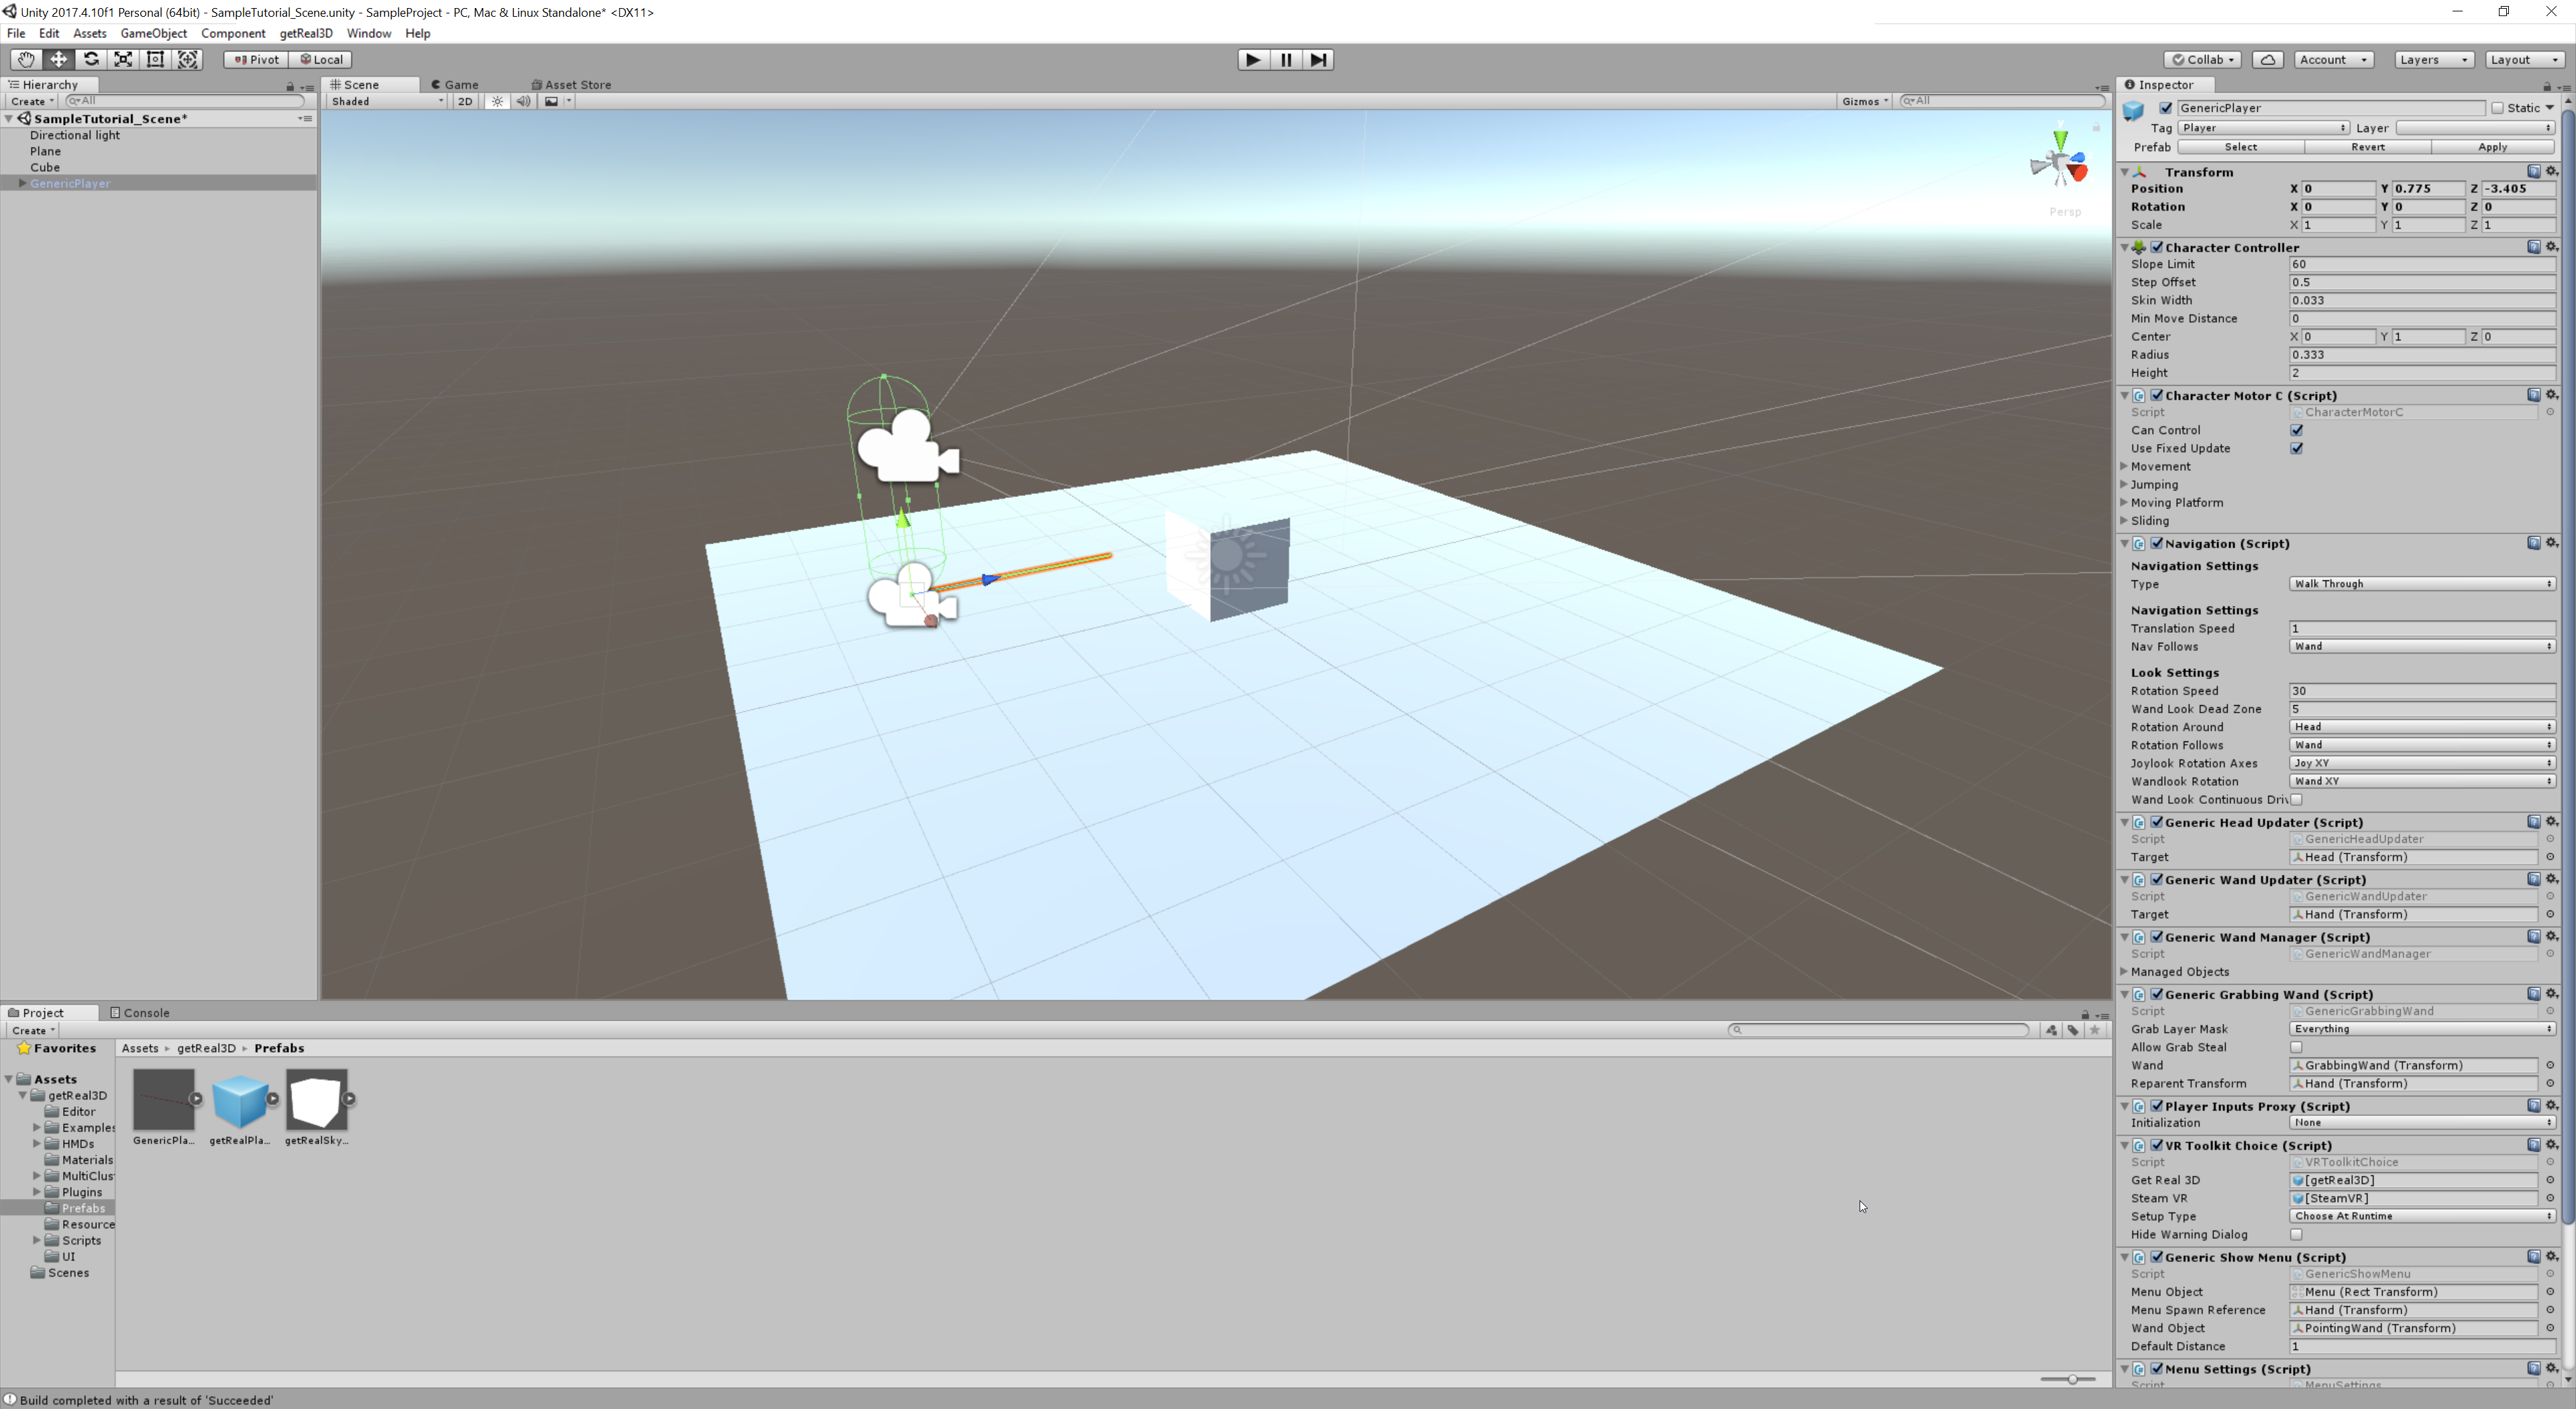
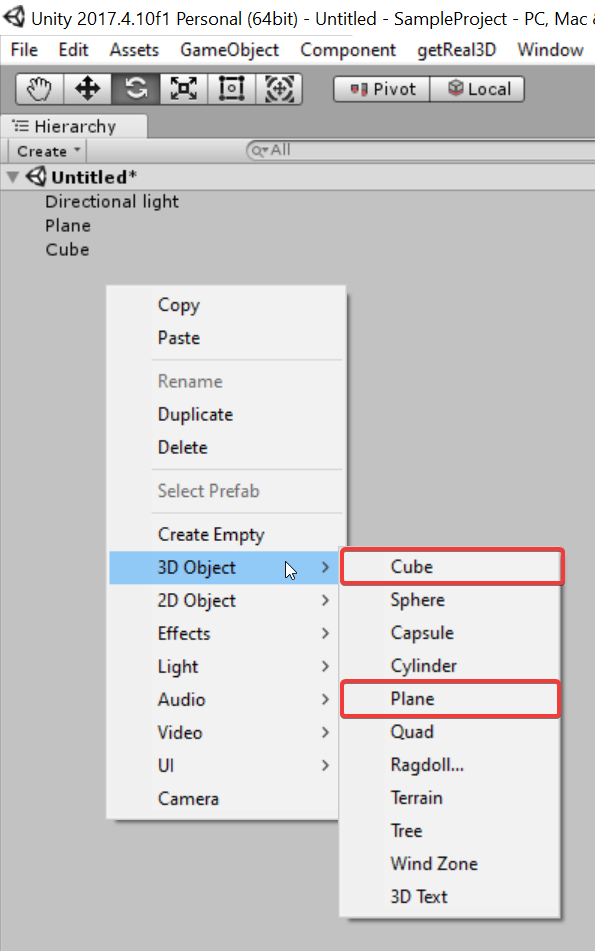
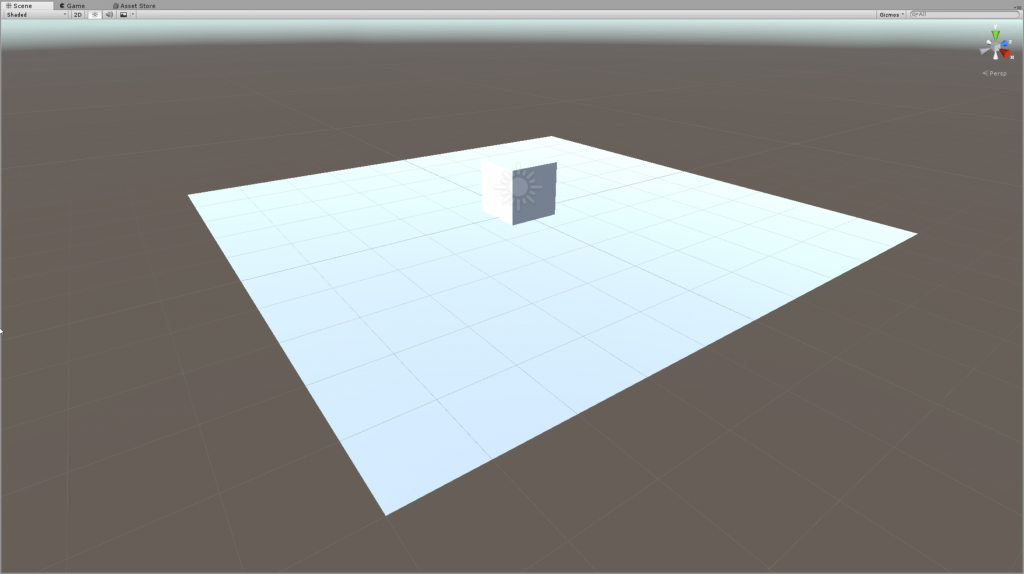
5. Now that we are done with the initial setup process, we can now work on adding things to Unity’s scene hierarchy. Before we add anything, let’s delete the default camera that currently exists in the hierarchy as we will be adding our own later. To keep this tutorial simple, I will only be adding a plane and cube as our floor and model of observation respectively. We can add both these objects by right clicking the hierarchy and selecting 3D Object > Plane and 3D Object > Cube.
6. Now that our environment is setup lets add the player controller that the person in the I-CAVE will control. To do this we have to locate the getReal3D Prefab file. This can be found in your Project folder in: Assets > getReal3D > Prefabs. The Prefab is called GenericPlayer.prefab and this has to then be added to your project hierarchy. 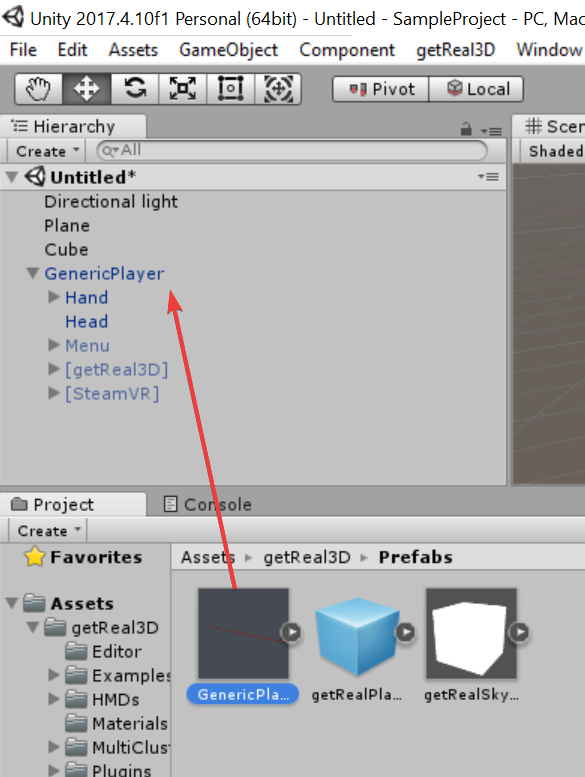
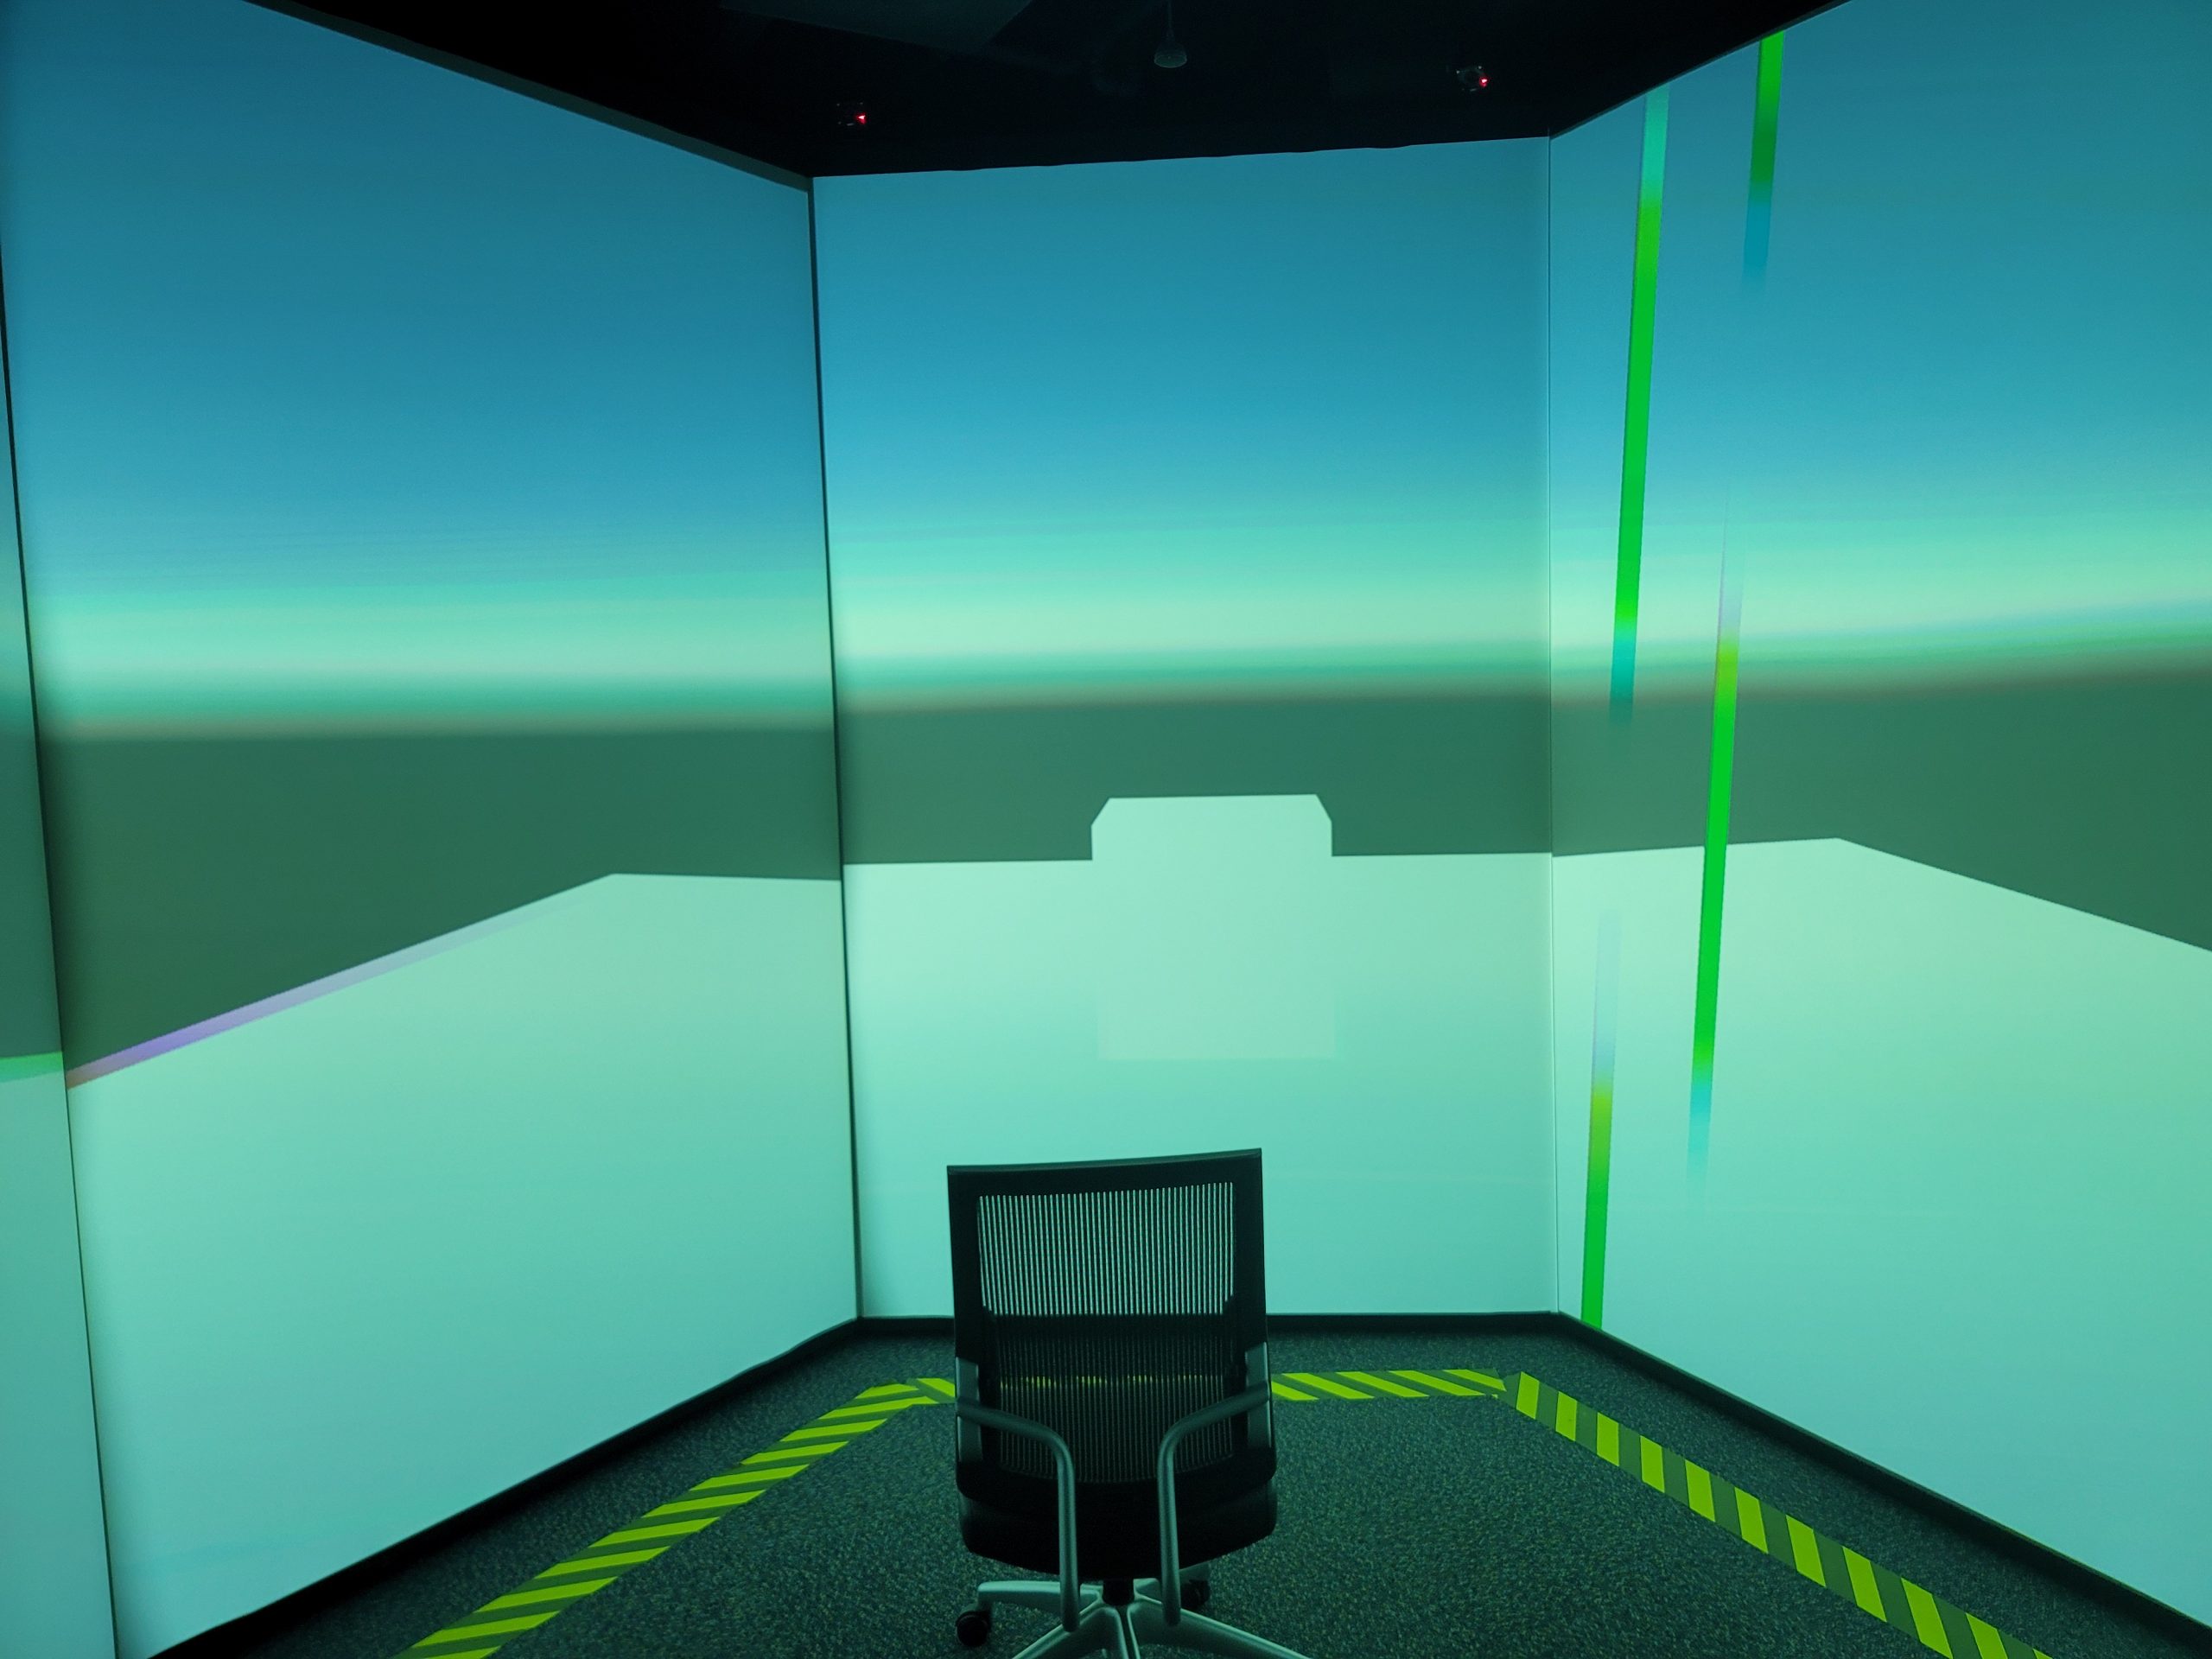
7. Now that you have your player and a virtual environment it is now time to see this live in stereoscopic 3D inside of the ICAVE. We will now build the project into an executable that can run on the ICAVE’s head node PC. To do this we select File > Build Settings then press build inside that window:

8. You will have to pick a folder for the destination of this executable. This will be the folder you will copy and bring to the lab to test within the I-CAVE.
Your Unity Project is all set! The next step is to get it up and running in the I-CAVE. The deployment tutorial can be found here.
