
Deploying your Project to use inside the I-CAVE
- To use the I-CAVE, you will have to fill out this form in order to get your project approved
- Once you are approved, you will receive the getReal3d Plugin unity package and a shared folder in Google Drive where you can place your Unity project.
- Once you have your executable ready with this tutorial, you are ready to deploy.
- At the Head Node Computer, you will first open getReal3d for Unity. It is located on the taskbar or just look for “getReal3D for Unity” in the Start Menu.

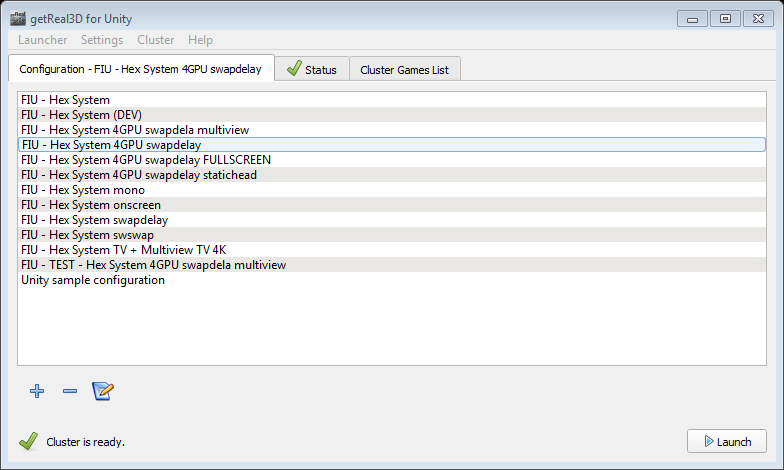
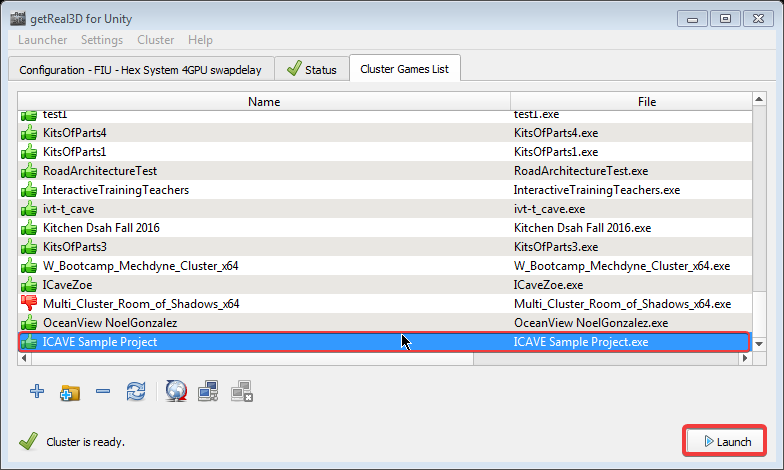
- Once its opened there are a couple settings to confirm. Firstly, In the Configuration Tab, make sure “FIU – HexSystem 4GPU swapdelay” is the selected configuration.
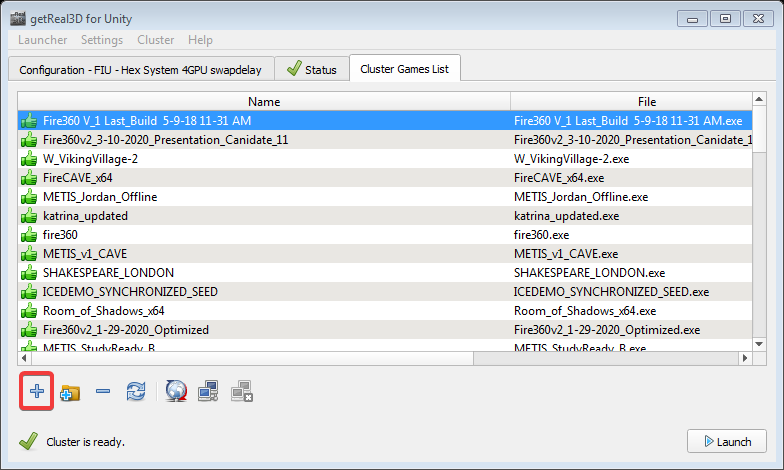
- Now head to the “Cluster Games List” tab and press the + icon to add your Unity Project executable file.
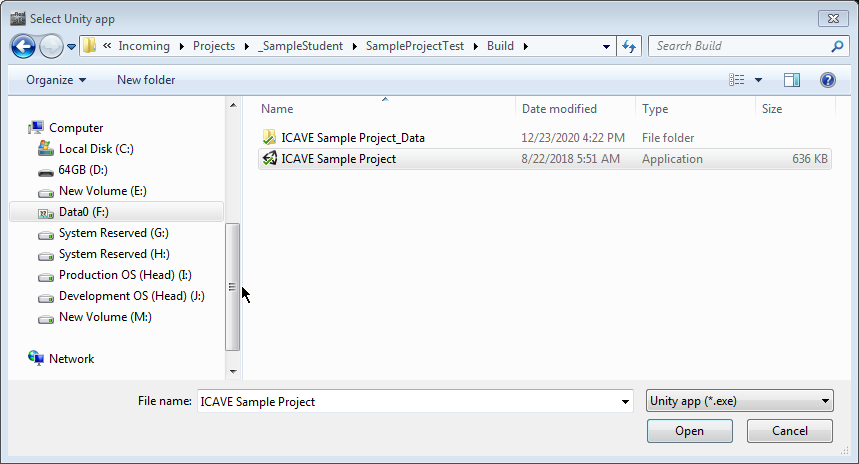
- Look for your project in the corresponding folder. It should be in the incoming drive, inside Projects > [yourFIUStudentUsername] > Project Folder
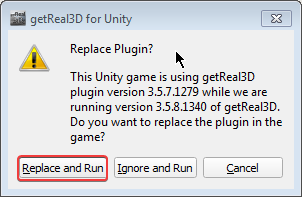
- Once it is added, GetReal3d For Unity will ask you to replace the plugin with the beta version we currently have installed. Select “Replace and Run”
- Once it is done loading, You are ready to launch your Unity Project
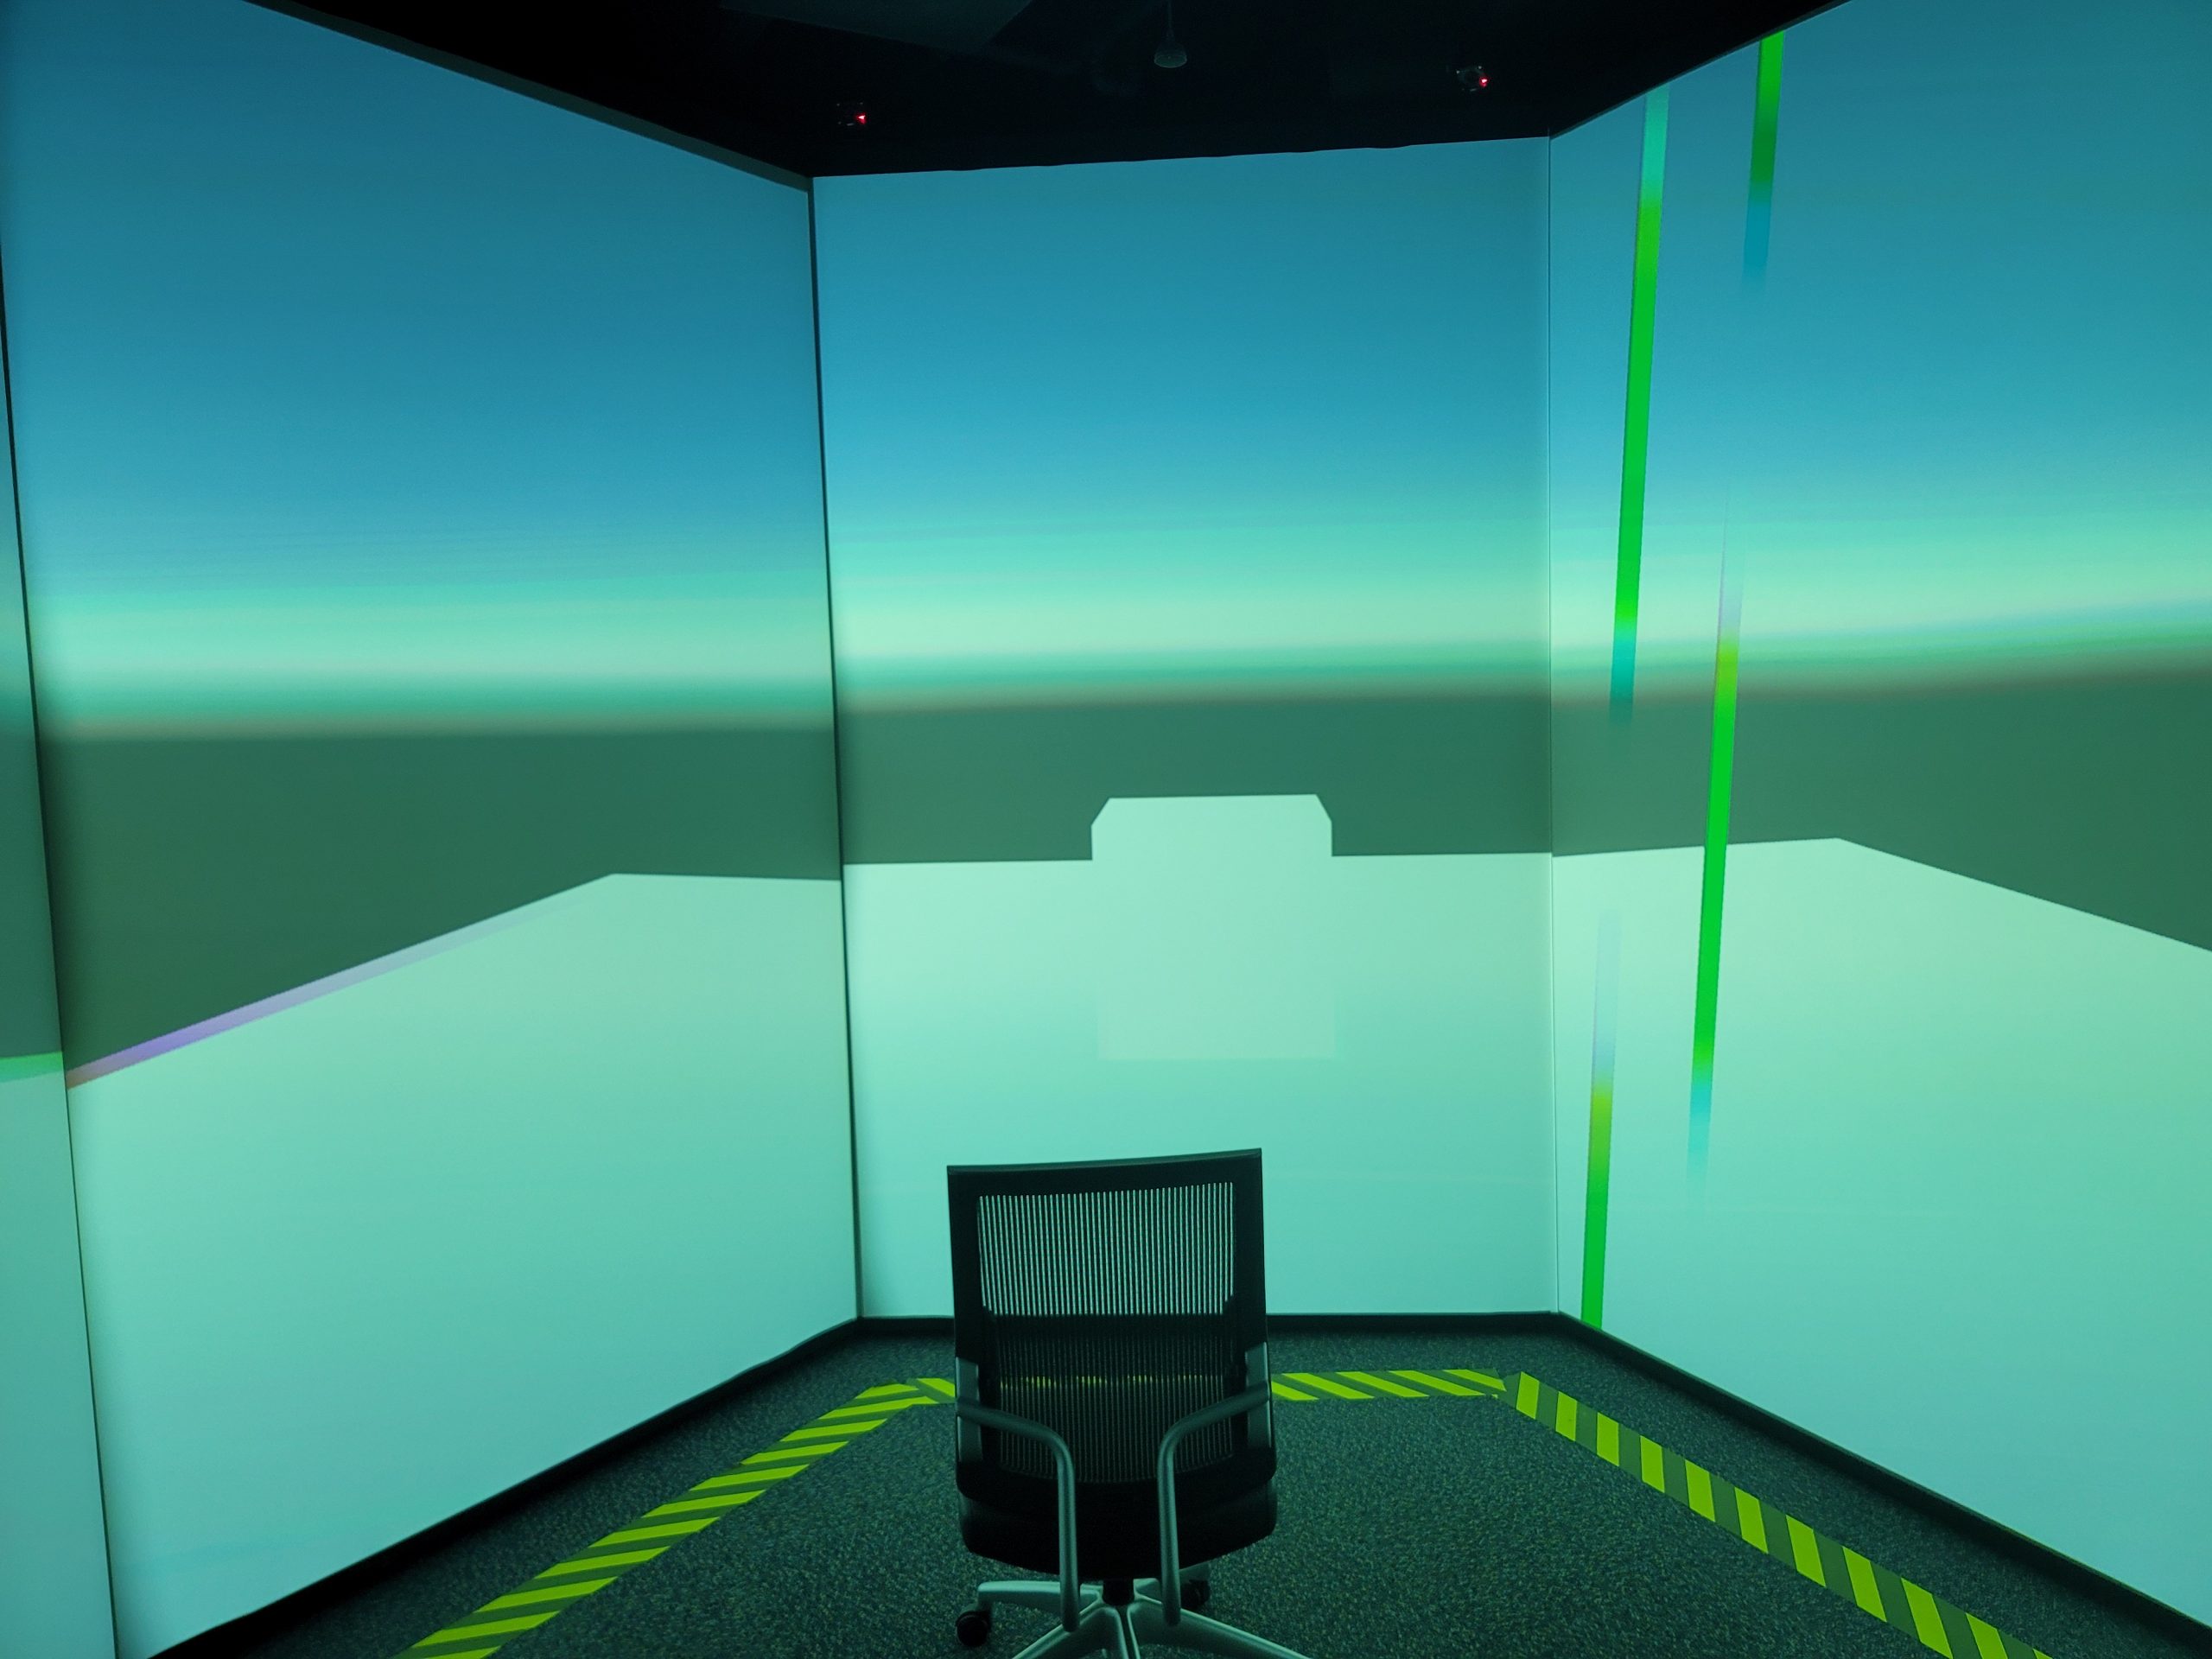
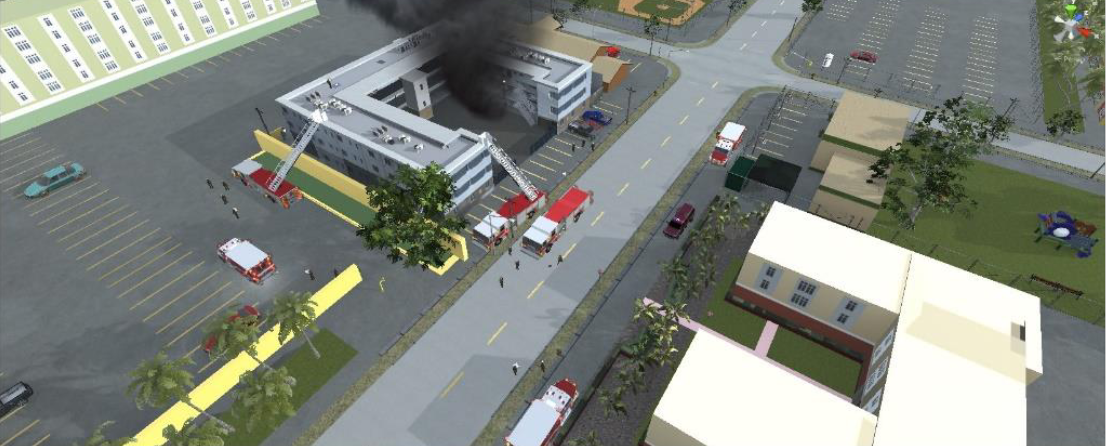
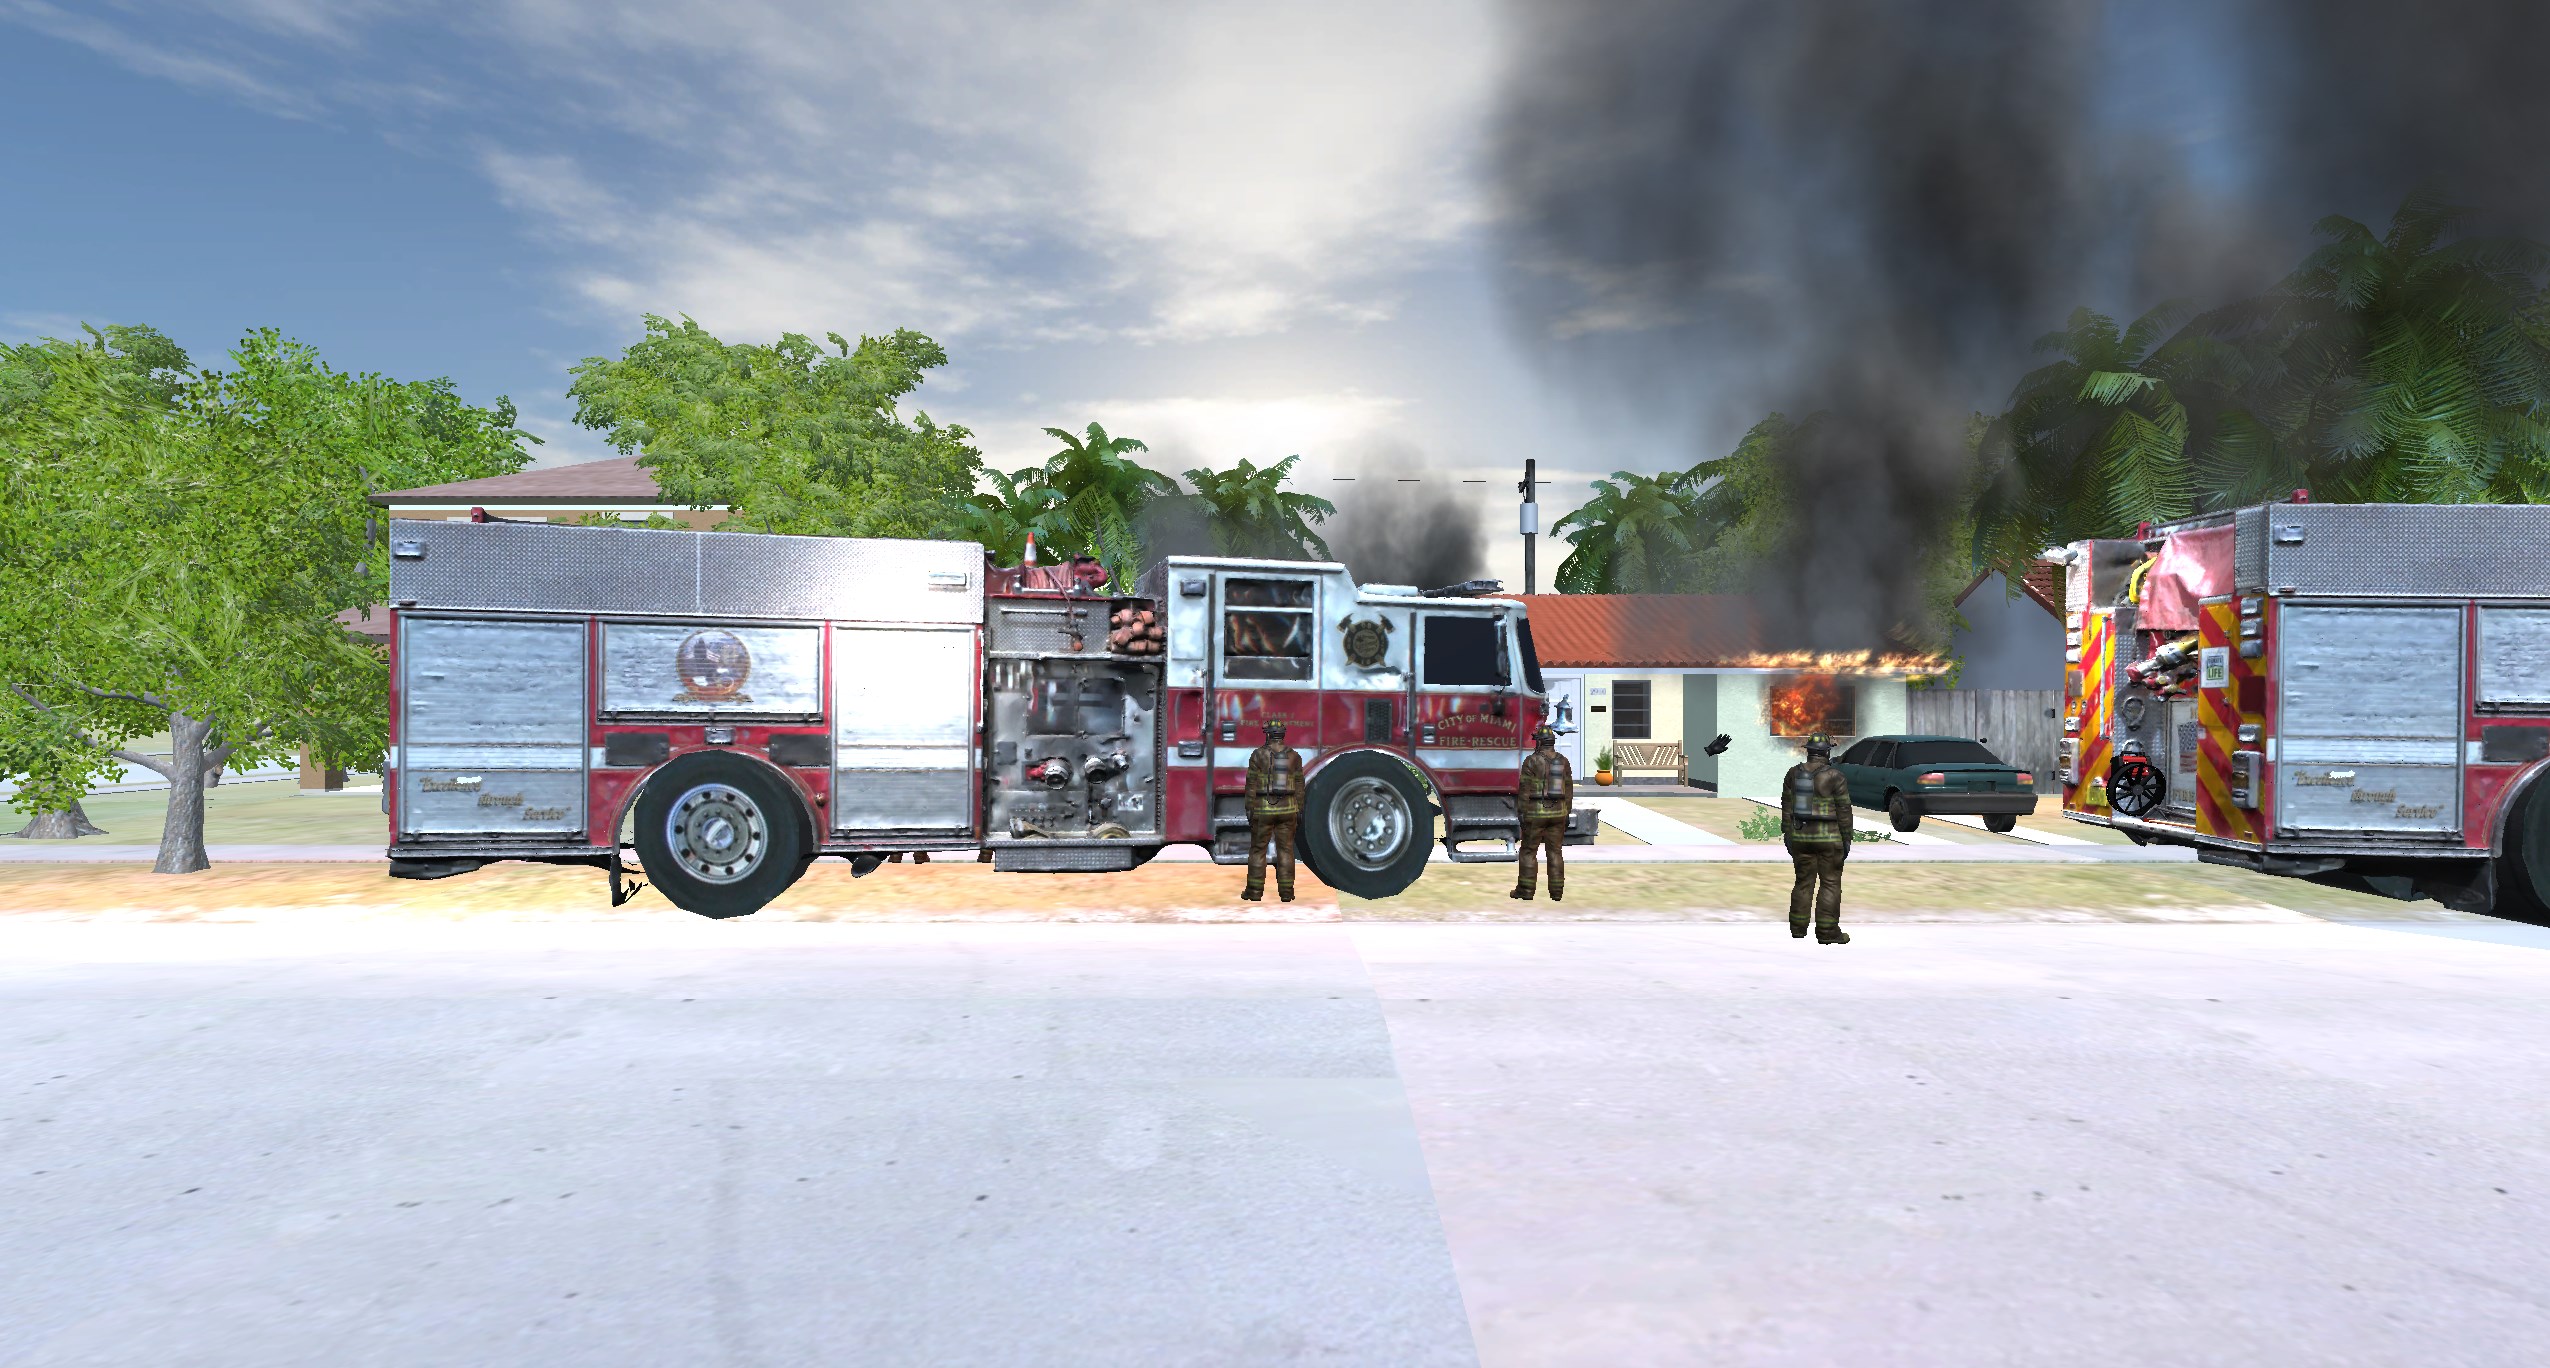
- It will take about one minute for the project to fully load but once its done, put on your 3d Glasses and grab a controller and experience your project in full stereoscopic 3D with room scale tracking inside the I-CAVE:


